

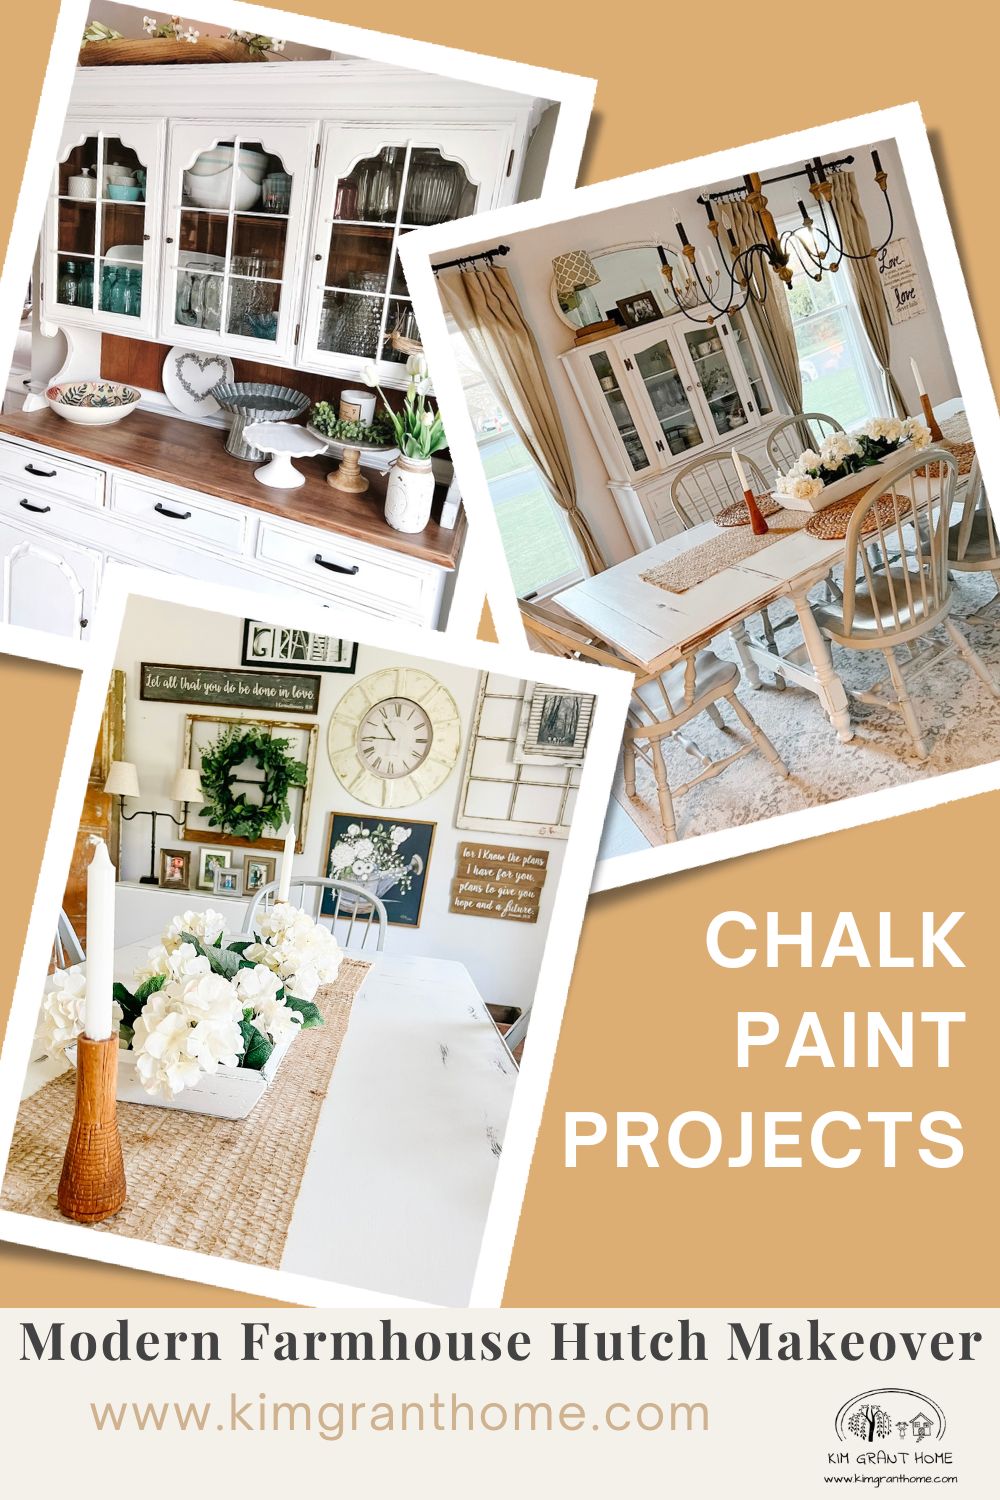
Modern Farmhouse Hutch Makeover

Who doesn’t love a good makeover?! Our kitchen was actually a 6-year makeover. Yes, you read that correctly! At the very end of the makeover, we needed one more piece to complete our kitchen makeover. The final piece we needed was a hutch that we could use as a serving spot, and for extra storage. And thus begins our modern farmhouse hutch makeover!
What we needed was the piece de resistance to complete the kitchen. In this post, you will learn how we took an old dusty, dining room hutch we bought on Facebook Marketplace and transformed it into the perfect piece for our kitchen.

In the Modern Farmhouse Kitchen Makeover post, I list out characteristics of a “modern farmhouse” style kitchen. A modern farmhouse kitchen to me has elements like flat panel or shaker-style cabinets, open shelving, antique furniture, vintage signs, and natural elements of wood and greens.

It’s a mix of old things like antique cutting boards, vintage rolling pins, barn wood open shelving, and modern conveniences such as stainless steel appliances. It adds depth, character, and a warm feeling of the past and the present together.
The Missing Piece
Have you ever had a space in your home and a vision in your mind of what belonged there? 🙋♀️ That was me when it came to this hutch makeover. I could picture the hutch but was unable to locate what was in my mind.
In our Modern Farmhouse Kitchen Makeover, we made the island the centerpiece of our kitchen and eliminated a kitchen table altogether. Consequently, this opened up wall space perfect for extra storage we desperately needed.
The ultimate question was what would work best to provide the maximum amount of storage we needed? And, at the same time, would look beautiful, make a statement, and complete that modern farmhouse kitchen we desired?

Would it be a wall of shallow cabinets or lower cabinets with a countertop or a piece of furniture? I considered all options but in the end, came to the conclusion that the perfect hutch would give the kitchen more of that farmhouse/European characteristic I was longing for.
I am a visual person and, therefore, I need to live with a space for a bit before I just fill it. Unfortunately, with something like a hutch, it’s not like I could “just try it”. So I had to use my imagination on this one and I was certain that a hutch was what I wanted for the space.

The Hutch Specifications
I was on a mission to find the perfect hutch and the hunt was on. This hutch had to be a specific height, width, and depth to fit the space. It had to have clean and simple lines. It had to have a buffet so I could serve desserts on it when entertaining.
If I had my preference the top half would have glass doors. With glass doors, I could display my vases and serving pieces but also make the space feel less crowded visually. And lastly, it had to have storage for serving dishes and baskets.
My vases, baskets, and serving dishes were currently tucked away in a closet. I wanted a place where I could have easy access to them in my kitchen. Given all of these qualifications, I knew the task at hand wasn’t going to be easy.

Where to Look
I began by looking in antique malls, Goodwill, and Facebook Marketplace. We came across LOTS of hutches but nothing that fit what I pictured in my mind. My search went on for almost a year. Oh, and did I mention I didn’t want to spend a lot of money? Yeah, there’s that 😛.
Over the years, I have been able to find great pieces of furniture on a very limited budget and I knew I didn’t have to spend a lot of money to get what I wanted. However, what I did need was to be patient. Being patient is not one of my finer qualities 🤣.
The Perfect Hutch to Makeover
Where We Found the Hutch
After a long search, I found THE perfect hutch on Facebook Marketplace! The seller was asking $150.00 and I offered $100.00. I usually try to offer less than what it is listed for. I figure it doesn’t hurt to ask, right? Most of the time the seller will take it, and in this situation, she did!

The Hutch Makeover Plan
The original stain color and finish on the marketplace hutch were not what I was going for. However, I knew it was a diamond in the rough and I could visualize the final product.
I considered stripping the whole piece and putting a coat of poly on it but chalk paint won out in the end. I did want the buffet top to be wood stained so I stripped the buffet top only and put a polyurethane matte finish on it.
I completed the hutch makeover by distressing it with a sandpaper block. Chalk paint is a great option when painting furniture. You can chalk paint just about anything and I love it because there is no need to sand prior to painting. Prep is so easy.
How to Chalk Paint-The short version
There are different brands of chalk paint. My personal favorite is Rustoleum Chalk Paint in Linen White. I like to use a brush to apply. My favorite brush is the 1-1/2″ Purdy Angled Sash Paint Brush It typically takes about three coats with a light sanding in between each coat to smooth the surface.
After the final coat of paint has been added, I use a 220-grit sanding block and sand a bit more in places where you would naturally see the wearing down of paint on a vintage piece of furniture. Depending on the piece and where I want to see the wear and tear, dictates the amount of distressing I do. By distressing you can give a piece more of a rustic touch, which fits more nicely with my vibe.
After the distressing is complete, I will take a small vacuum with a brush attachment and run it over the piece to remove all of the dust. I then take water and a sponge and wiped it down thoroughly.
I then used a topcoat called Rust-Oleum Ultra Interior Chalked Paint in Clear Matte. This is typically my topcoat of choice for chalk paint. Polyurethane can yellow the finish sometimes so I like to stay away from that. I have never done it but many people use wax to give it an aged look as well. I typically will add two or three coats of topcoat depending on how much use the piece will get.

This particular hutch was very well made and a solid piece of furniture. The hardware on it was just okay. I kept the knobs but replaced the drawer handles.
You can find any size handles on Amazon. It didn’t take long to find what I was looking for. It was only $20 for all five pulls. Kitchen Cabinet Handles Matte Black
I spray-painted the knobs that came with it in matte black to match the handles. The total cost for the hutch was very budget friendly at $135.
This amount included the hutch, chalk paint, drawer pulls and spray paint. I love the challenge of finding things on a budget and I have to say I am proud of how we did on this one.
The Kitchen is Complete
This was the final piece to my very prolonged kitchen makeover but it was worth the wait. Sometimes I want to rush and find something quickly and I end up settling. I am so happy I did not settle on another hutch prior to finding this gem.
One of my favorite things about the farmhouse-style kitchen is that it has an element that brings the past together with the present. I find the modern farmhouse kitchen style to have warmth, and a sense of hominess, and is an inviting place to be.

A Few Final Thoughts
Don’t be afraid to take something old and give it new life. Consider it recycling and rescuing. It feels good to save something old. Chalk paint is a wonderful option when painting furniture.
Patience is key in the search for the perfect piece. It will be worth the wait when you eventually find what you have been searching for. For me, working on a budget has always been how we roll. Get creative and think outside the box.
I once found a coffee table for 7.50 and a china cabinet for 15.00 (see picture above). I found both at a local Goodwill and chalk paint saved them and brought new life to them. You might like my post Thrifting: How to Thrift and What to Look For if you want to find ideas of what to look for while thrifting.
The 15.00 china cabinet was in two parts on the floor of the Goodwill when I found it. The top piece was upside down. I’m pretty sure this is why no one else had snatched it up.
I had a guy help me put it together so I could get the complete picture. It was marked 30.00 and I was thrilled to get it for 30.00. When I went to check out it was actually half-price day, which I didn’t know, and I got it for $15.00.
I’m not always that lucky when it comes to my thrifting finds but this was definitely one of the good ones. A few years ago I bought a dresser at a flea market for 10.00 and chalk-painted it for my daughter’s room. We added new knobs and it is so cute.

The piece below is one of my all-time favorite finds and the first piece I ever chalk-painted. I originally stripped it to its natural wood, and it remained like that for many years. When we moved into our current home I chalk-painted it and LOVE it!

And lastly, if you need storage get creative. It’s hard to believe how many treasures I have in this hutch!! It looks pretty AND filled the need for storage we had. I am so happy with our hutch makeover!
Well, there you have it, and now my modern farmhouse kitchen is complete. YES and Amen!
Thanks for coming along on this journey with me! My prayer is it inspires you to create your own cozy spaces you love for you and your family to enjoy.
Much love~Kim💗
POSTS LINKED:
Thrifting: How to Thrift and What to Look For


